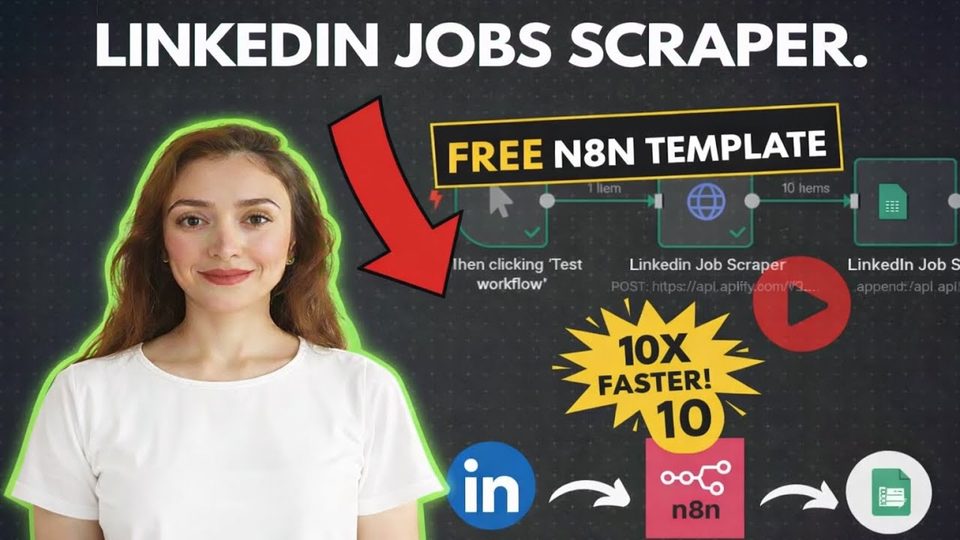
How to Scrape LinkedIn Using n8n (Free Template!) - 2026
AUTOMATION
How Do You Scrape LinkedIn Job Details with n8n in Under Two Minutes?
In short: An n8n template plus an Apify LinkedIn job scraper pulls job listings by title, location, and count, then saves them to a Google Sheet, with each Apify account receiving 5 dollars of free credit monthly.
Key takeaways
- An n8n template plus an Apify LinkedIn job scraper pulls job listings by title, location, and count, then saves them to a Google Sheet, with each Apify account receiving 5 dollars of free credit monthly.
- Avoid any scraper that asks for your LinkedIn cookie or session information; it is not safe. The actor used here was free for its first three days.
- Job title, location, and total rows are the values that change between runs, so they are captured through an n8n form rather than hardcoded in the request.
This tutorial by Ani Björkström, a tech consultant based in Stockholm, shows how to scrape job details from LinkedIn with an n8n template in less than two minutes. The heavy lifting happens on Apify, accessed at console.apify.com, while n8n handles the request, the input form, and the delivery of results into Google Sheets.
How do you set up the LinkedIn scraper on Apify?
Search the Apify store for a LinkedIn job scraper and pick one that does not request your cookie or session data, since that is highly not recommended for safety reasons. In the actor's manual tab you then define what to search for, and clicking save turns those choices into JSON on the actor's JSON tab, ready to copy to the clipboard.
| Setting | Example from the tutorial |
|---|---|
| Job title | Developer, AI workload automation specialist |
| Location | A continent or a country, such as Italy or Sweden |
| Company | Optional, for example Facebook |
| Published at | Past week |
| Job type | Contract, since the search targets contract opportunities |
| Workplace | Remote, on-site, or hybrid |
How does the Apify JSON get into n8n?
The copied JSON is pasted into an n8n HTTP request node with body content type set to JSON. The request URL comes from the actor's integration tab under API endpoints: choose "run actor synchronously", copy the URL, which already includes your token, paste it into the node, and set the method to POST.
Why use a form for job title, location, and rows?
Because those three inputs are the ones you change on every run, while the rest of the JSON stays fixed. The form defines a job title field as a text area, so longer entries like "AI specialist" or "Python developer" fit comfortably, plus a job location field for a country or continent and a total rows field for how many results you want. Submitting the form feeds those values into the HTTP request without touching the workflow itself.
How do the results end up in Google Sheets?
A Google Sheets node sits after the HTTP request, connected to a sheet prepared in advance with column names matching the fields LinkedIn returns. After a test submission with job title "developer", location "USA", and one row, the response arrives within a few seconds via Apify, and each input value, starting with the ID and the published date, is dragged and dropped onto its Google Sheet column in the mapping area. The n8n template is given away free to viewers who like the video and comment.
FAQ
Does scraping LinkedIn this way cost anything?
Every Apify user gets 5 dollars of free credit each month, and the specific scraper chosen in the tutorial was free for its first three days, which is why it was selected.
Why should I avoid scrapers that ask for session or cookie data?
Handing over your LinkedIn cookie or session information is not safe. The tutorial explicitly recommends against any actor in the Apify store that tries to collect it.
Which Apify endpoint does the n8n request use?
The "run actor synchronously" endpoint from the actor's integration tab. The URL already contains your token, so you only paste it into the HTTP request node and switch the method to POST.
Full transcript of the video (1,069 words, 9 sections)
Chapters: 0:00 Introduction to LinkedIn scraping · 0:36 Setting up the Apify scraper · 1:25 Configuring scraper parameters · 3:02 Building the HTTP request · 4:51 Connecting to Apify endpoint · 5:43 Exporting data to Google Sheets
0:22 Hi, my name is Anibi Bstram. I'm a tech consultant based in Stockholm. In this tutorial, I will show you how to use an N template to scrape job details from LinkedIn in less than 2 minutes. Let's get started. For scraping LinkedIn, we will use a tool called Appify. We will log into console.appify.com. And from here, you can see that every single user in Epify gets free $5 every month. So from here we will click on EPify store and from Epifi store we will search for LinkedIn job scraper. You can see that there are a lot of options here and I don't recommend to use an option that is trying to get your cookie information or session information.
1:09 This is highly not recommended because it is not safe. And in my case I will use LinkedIn job scraper. The reason I'm using this one is because this one was free for the first three days. Now under manual tab you will enter job title. This will be the title of the job that you are trying to get or you want to scribe from LinkedIn. So for me it will be developer I workload automation specialist and so on. Then for the location you will choose either a continent, several continents or you can choose just a country for example Italy or Sweden. Then if you are looking for a certain company of course you will add the name of the certain company here for example you can click on add button and you can add Facebook.
1:59 Then company ID published ad and in my case I will just choose past week then total rows. This is the number of rows of output or how many outputs you want to get. And you also have option to choose if you want to work remote or if you want to work on site or if it can be hybrid for example. And under the job type for me it is contract because I'm looking for contract opportunities. Experience level you can choose if you like but you don't have to. And that's it. Then you will click on save button. Once that is done, you will go to JSON.
2:47 And here you will see the JSON code that was created when you were doing your manual choices. So you will just copy this by clicking on this copy to clipboard button. Now back to N again. And here we will create an HTTP request. If I double click on HTTP request, you can see that the code that we copied from apply will be passed in here. Under JSON, we will choose body content type JSON. Specify body using JSON and then under JSON, we will just past the code that you copied from epify.com. And here you can think so which of those input information is variable for you.
3:35 So will you for example change location every time you try to scrape data from LinkedIn or will you change the amount of output that you want to get from LinkedIn or will you change the title for me rows titles and locations are variable information. So the way I will manage this is that I will create submission form in here. You can see if I double click on this, you can see that I will create input variable called job title and then element type will be text area because here you might want to enter for example developer or I specialist or Python developer and so on. So you want to give you the chance to not only enter text but enter long text.
4:23 So that's why you will choose text area and then under that you will choose another field name job location and in this case for example if you want to search for a certain country or for a certain continent you will enter that information in here. Next you will choose total rows. This is how many rows you want to get. Like then one more thing is that in http request you will need to know which URL you will use and for getting this URL you will go back to epify.com and then you will go to integration tab and from here you will search EP endpoints. So here you can see that there are a lot of different endpoints.
5:11 The one that you need is run action synchronously. So you will just copy this one and you can even see that the token information is already included in this URL. So you just copy this one and you will go back to NAN and here under URL you will just post this one. Also make sure to change the method to post in here. If you come out of this, you can see that we have another tab which is Google sheet tab. And the reason we use this one is because after we scribe information from LinkedIn, we want to save it in a Google sheet. And how you will do that? you will just connect to your Google sheet account and from there you will map you will map all your input information with your columns in Google sheet.
6:04 So if I go to the Google sheet, you can see that I have already created a Google sheet and I entered all the different column names that are the same as the column names that are coming from LinkedIn. Now let's see this in practice. If we try to execute previous note so that you can see all the information. So here job title I will enter developer job location USA and total cost can be just one and I will submit the form this can take couple of seconds to contact to epify and get information via epify's URL.
6:58 So now we have the information and you can see all the input values and you can see how I mapped input values with Google sheet. So in Google sheet for ID I will just drag and drop the ID from input to Google sheet mapping area. Then the same thing with publish and so on. You get the idea. And now I will be giving away this N10 template for free. You just need to like this video and comment anything down below. I hope this was helpful. Have a good day. Bye.
Want this working inside your finance team?

Ani Björkström — founder of QvantX Sweden AB, a Stockholm consultancy building AI solutions for banks, asset managers and finance teams. Anthropic partner. Every article starts from a real client build, minus the confidential parts. LinkedIn →
Keep reading — Automation
 I Built a Full n8n Workflow in Minutes Using Claude AI (FREE TOOLS)
 Claude Code Skills Just Changed How I Make CVs
 How to build a FREE Lead Generation Machine with n8n + Google Maps + Gmail (Free Template) - 2025
More: all 54 articles · Claude vs ChatGPT for finance · best AI tools for finance teams · work with QvantX