How to Set Up LinkedIn AI Post Automation with Make & ChatGPT (Step-by-Step Tutorial)
AUTOMATION
How Do You Set Up LinkedIn Post Automation with Make and ChatGPT — Without Writing Code?
In short: A ready-made Make blueprint connects OpenAI to LinkedIn: import it, add your API key and organization ID, and the scenario writes and publishes posts automatically.
Key takeaways
- A ready-made Make blueprint connects OpenAI to LinkedIn: import it, add your API key and organization ID, and the scenario writes and publishes posts automatically.
- Every word in curly braces in the prompt is a variable you must replace — role, industry, tone, topic, target audience, purpose and hashtags define your brand voice.
- The tutorial uses GPT-4.1 mini because it is capable and cheap, schedules posts for Tuesdays at 5:00 PM Europe/Stockholm, and verifies the result with a single "run once" test.
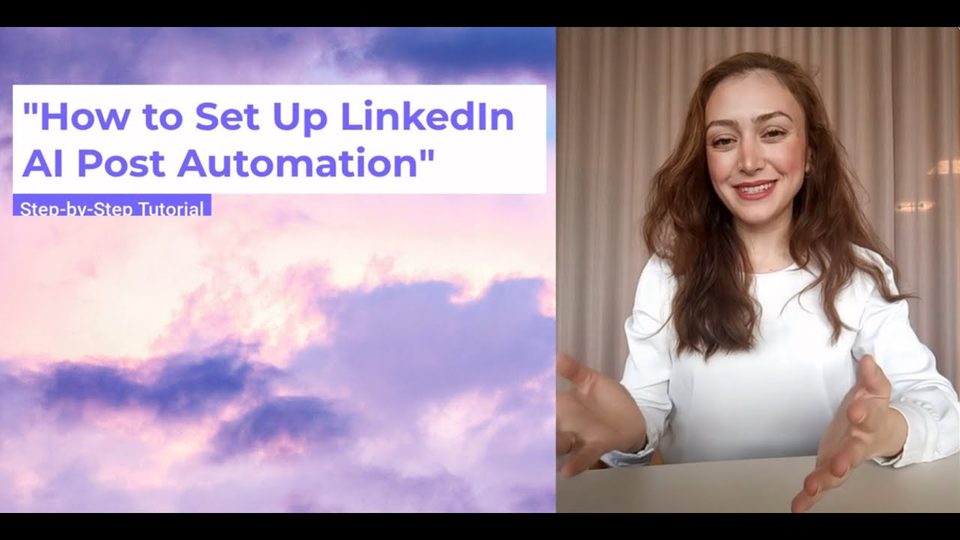
In this walkthrough, Ani Björkström sets up LinkedIn post automation using Make and ChatGPT: importing a ready-to-use blueprint, connecting it to OpenAI and LinkedIn, customizing the prompts for a specific brand, and scheduling posts to publish on autopilot — all without touching a single line of code.
How do you import and connect the LinkedIn automation blueprint?
In Make, open Scenarios, create a new scenario, and choose "import blueprint" — the tutorial names the scenario "LinkedIn automation". Then click the ChatGPT icon, add a connection, and enter your OpenAI API key and organization ID from the OpenAI platform; you also need money on your OpenAI billing account for the calls to work. The model is preset to GPT-4.1 mini, which the tutorial recommends leaving unchanged because it is quite good and cheap as well.
Which prompt variables do you need to customize?
Every word wrapped in curly braces is a variable that must be updated; the rest of the prompt should be left as-is, since changes beyond the variables are not guaranteed to work. The system role defines who is writing and the assistant role defines what each post is about. The table below shows the variables with the tutorial's example values.
| Variable | Example value from the tutorial |
|---|---|
| Role | AI automation consultant |
| Industry | Finance |
| Tone / style | Friendly (professional or fun also possible) |
| Topic | AI automation |
| Target audience | Managers, developers, CTOs (line can be deleted) |
| Purpose of the post | Share news (or promote a product, provide a tip) |
| Tags | AI, AI automation, AI agents |
One nuance from the setup: choose the role you want to be seen as, not just your job title. The tutorial's author is a tech consultant, but selects "AI automation consultant" so the posts position her as an automation expert.
How do you connect LinkedIn and schedule the posts?
In the LinkedIn module, the only thing to add is the connection — pick "LinkedIn", not "OpenID Connect", because it is much easier to set up, then log in with your LinkedIn password and save. For scheduling, you can post at regular intervals such as every 15 minutes, but unless you want to bombard your audience, a day-of-week schedule is more sensible: the tutorial picks Tuesdays at 5:00 PM in the Europe/Stockholm time zone.
How do you verify the automation actually works?
Save the scenario and click "run once" before trusting the schedule. A successful run shows a "1" on each module, and you can confirm the result by logging in to LinkedIn, opening your profile, and scrolling down to see the freshly published post — exactly what the tutorial does as its final check.
FAQ
Do I need to know how to code to use this?
No. The entire setup is done by importing a blueprint, filling in connections, and editing prompt variables — no code is written at any point.
Which OpenAI model should I select?
The blueprint comes preset with GPT-4.1 mini and the tutorial recommends keeping it, since it produces good posts at low cost.
Can I change the parts of the prompt outside the curly braces?
You can, but the tutorial only guarantees the template works when you edit the variables in curly braces and leave the rest of the prompt text as defined.
Full transcript of the video (1,232 words, 12 sections)
0:00 Hi, Annie here. In this video, I'll walk you step by step through setting up LinkedIn post automation using Make and Chat GPT. You'll learn how to import a readytouse blueprint, connect it with Open AI and LinkedIn, customize it for your own brand or business, and schedule posts automatically, all without touching a single line of code. Let's dive in and get you posting on autopilot. Open your internet browser of choice and then search for make IE. And then once it's done, you can just click on either login or get started free. Can take a couple of seconds before it opens.
0:56 Nice. Then on the left side you can see scenarios. Please click on scenarios and create a new scenario. Import blueprint. You can give your name that you want your scenario to have. I think the best name for this can be LinkedIn automation. then enter. And once it's done, you will go down and you will click on three little dots that says more. And then you will do save. Great. So now we will click on the chart icon.
1:44 And here the first thing is that you need to add your connection. You can see it says my open eye connection. So we will do add and here you will add your API key and organization ID that is coming from open I platform. Also you need to have some amount of money on your billing account to be able to use this and then I will close it. I will just check that because I did this before. Okay. So you can see that I already saved this. So I have open connection. So I'm just going to choose that. Then under that you can see model that I selected.
2:30 You don't need to change that. I use chat 4.1 mini. This one is quite good and uh it is cheap as well. So you can leave it as it is. And then you can scroll down. You can see roll. And in the roll you can see some text. And what you need to do in this point is that you need to update all the variables. And when I say a variable, I mean every word that is in a curly braces is a variable that needs to be updated. So in this case, it says URL and then ro. So that this will be your role or the role that you want to be reflected in your LinkedIn post. So in my case, let's say I'm a tech consultant and I want to post about I automation product.
3:16 So here I will say it it says you are and then I will write I automation consultant also remember that okay I'm a tech consultant but when it comes to my post I want to be seen as an automation expert. So that's why I'm choosing I automation consultant. Then it says in the industry um who creates engaging high quality LinkedIn post. Okay. So this is then the industry that you want to promote your product and um I will say in finance. Yes.
4:02 And you can just add your industries. Then if we go down you have your job is to write posts that use a tone. It can be professional, it can be friendly, it can be fun and I can enter friendly. Yes, follow the style writing. Okay. which style you want to write and style I think can also be friendly because yeah I think LinkedIn is better suited for friendly but it's up to you to define and then that's it we are basically done on defining uh the text template everything else you can leave it as it is but if you want to update it of course it's up to you but I can't guarantee that it will work if you uh update all of So we can scroll down.
4:57 Next we have ro assistant. And here we need to do the same thing. We need to update variables. So basically everything that is in curly braces. So it says write a LinkedIn post for my audience about product and topic. So my product is I automation tool or LinkedIn I automation tool. But I want to talk in general about I automation because I want to show me as an expert in that speciality. So I will just write about I automation and then target audience. Here you can specify what what are your target audience. It can be for example tech people right because or managers or I will say managers, developers, CTOs, and if you don't want to say target audience, you can just delete this line.
6:00 Then it says main point or news to include and bullet points and so on. So sorry, you can do a bullet point. You can for example write something. Yes, you can just write I as well for example. Then purpose of the post goal it can be promote a product share noise news provider tip and for me it will be more of share news at this point. So I will just copy this and then add here. Okay. Any specific hashtags? Yes. Here I want to have course I and I automation.
6:50 I'm sorry that wasn't a hashtag. That was a tag. So I I automation maybe I I agents. So great then that's it. Everything else just let it be as I defined here and then you can say save. Then we will go to LinkedIn and the only thing that you need to add here is just the connection and you will do I have already my connection here open but for your case you just do add and then you will choose LinkedIn not open ID connect just choose LinkedIn because that's a lot more easier to define and then you will write your connection then you will say save.
7:40 It will open your LinkedIn profile and you will enter your password here. You just do save and that's it. And then after that save it. So we will just click on the save button here. You can see scenario was saved. Then we will click here and we will define if you want to do it regular intervals for example every 15 minutes. If you're ambitious, do you want to bombard your LinkedIn audience? Maybe you can do that. Or you just can do once or day of a week. Day of I can choose day of a week. I think the Tuesdays works best. And then the timing. Yes, this time can be fine.
8:26 Or maybe let's do maybe let's do 5:00. And then time for me is Europe, Stockholm. And then I will just to save but also so now now that's that will work but let me to just check this and let's just do run once to make sure that everything works. So here you can see one one. So it mean that it succeeded. But I also want to log in into LinkedIn and to see my post may take couple of seconds until it will open.
9:22 Okay. Now I will click on my picture your profile. Just scroll down a bit more. So those features this is then the post and let's see. Yeah, great. Then it works and yeah that was it.
Want this working inside your finance team?

Ani Björkström — founder of QvantX Sweden AB, a Stockholm consultancy building AI solutions for banks, asset managers and finance teams. Anthropic partner. Every article starts from a real client build, minus the confidential parts. LinkedIn →
Keep reading — Automation
 I Built a Full n8n Workflow in Minutes Using Claude AI (FREE TOOLS)
 Claude Code Skills Just Changed How I Make CVs
 How to build a FREE Lead Generation Machine with n8n + Google Maps + Gmail (Free Template) - 2025
More: all 54 articles · Claude vs ChatGPT for finance · best AI tools for finance teams · work with QvantX